
Table of Contents
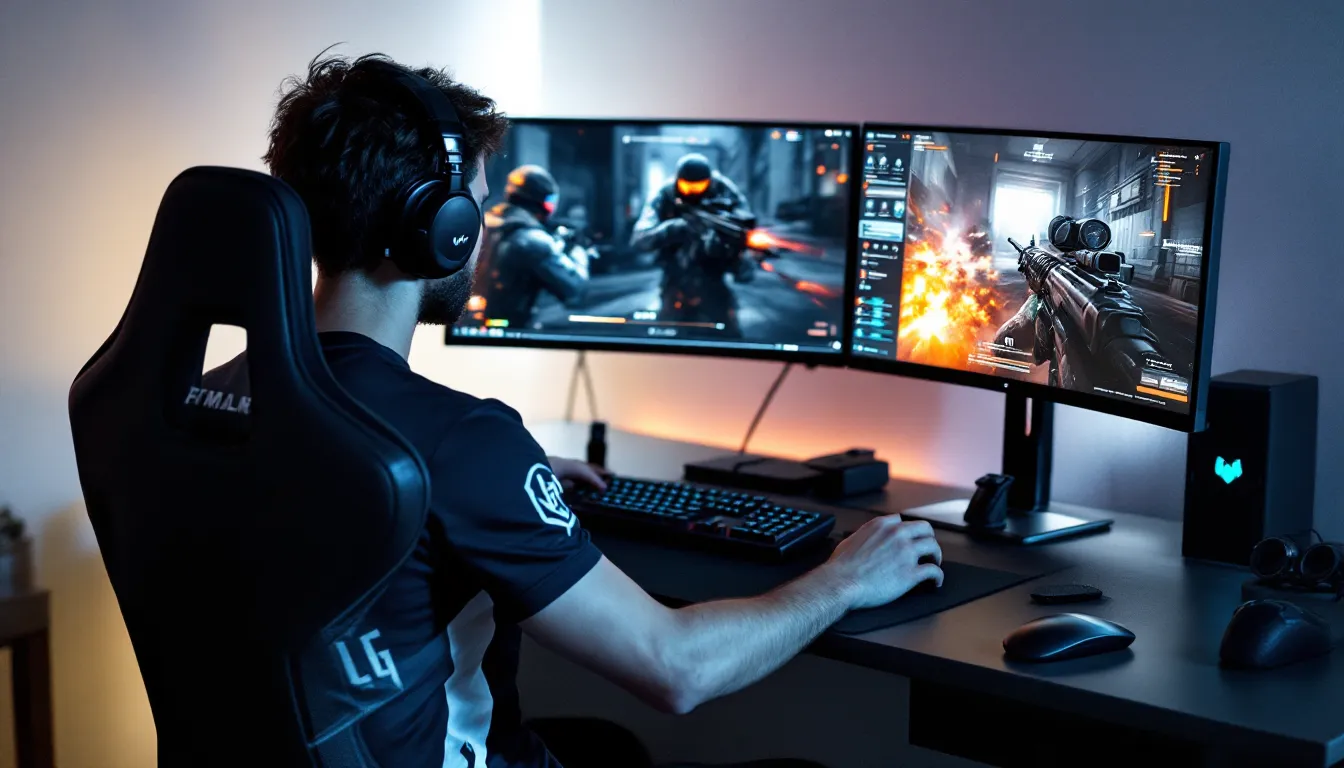
ToggleThe Battlefield Cross has quietly become one of the most essential techniques separating casual players from competitive veterans. If you’ve watched high-level Battlefield gameplay and noticed players pulling off seemingly impossible repositioning moves, that’s the cross in action. This mechanic isn’t a hidden exploit or a glitch: it’s a fundamental movement skill that, when executed correctly, gives you a decisive edge in firefights, objective control, and overall map awareness. Whether you’re grinding ranked matches or just tired of getting outplayed by players who seem to move like they’re playing a different game entirely, understanding and mastering the Battlefield Cross will transform how you approach combat encounters and positional play.
Key Takeaways
- The Battlefield Cross is a movement technique combining strafing, peeking, and directional changes to maintain momentum while keeping aim on target, giving competitive players a decisive edge in firefights and objective control.
- Mastering the Battlefield Cross requires understanding four core mechanics: momentum preservation, directional input timing (200-300ms execution window), weapon readiness, and cover awareness to minimize exposure.
- Successful execution involves establishing baseline cover position, pre-aiming your weapon, initiating lateral strafe, executing a pivot with diagonal movement, and snapping onto target within 400-600 milliseconds total.
- The Battlefield Cross works best on maps like Breakaway and Manifest with abundant cover and tight engagement distances, while open maps like Orbital punish poor crossing execution.
- Class-specific crossing strategies vary significantly: Assault classes execute aggressive sustained-fire crosses, Support and Medics use shorter tactical repositioning, and Recon and Mobility specialists maintain sightlines or leverage movement speed advantages.
- Expect 20-30 hours of focused practice to master the Battlefield Cross naturally, with dramatic improvement appearing between hours 10-20 as mechanical execution becomes muscle memory and strategic awareness develops.
What Is The Battlefield Cross?
The Battlefield Cross is a movement technique that combines strafing, peeking, and quick directional changes to maintain momentum while keeping your aim on target. Unlike a simple side-to-side strafe, the cross involves moving diagonally while maintaining your weapon discipline, allowing you to reposition aggressively without telegraphing your movements to enemies.
At its core, the mechanic leverages Battlefield’s movement system, specifically how characters maintain velocity during direction changes. When executed properly, you’re effectively creating a dynamic hitbox that’s harder to track than a stationary target, while simultaneously improving your sight lines and cover usage. It’s not about moving faster: it’s about moving smarter.
The key difference between a standard strafe and a Battlefield Cross comes down to intent and direction. A strafe moves you parallel to your engagement line. The cross moves you perpendicular to it, then diagonally back, creating a pattern that forces opponents to lead shots unpredictably. This is why competitive players gravitate toward it, it’s a high-risk, high-reward play that punishes predictable shooting and rewards map knowledge.
Core Mechanics Explained
Understanding the mechanical foundation of the Battlefield Cross requires breaking down four critical components: momentum preservation, directional input timing, weapon readiness, and cover awareness.
Momentum Preservation is the foundation. Battlefield’s movement system allows players to chain direction changes without losing significant velocity, unlike some games where direction changes create speed penalties. The cross exploits this by maintaining forward or lateral momentum while changing direction at precise intervals. You’re never truly “stopping”: you’re redirecting.
Directional Input Timing separates effective crosses from sloppy ones. The execution window is tight, typically 200-300 milliseconds. This means your button inputs must be crisp and coordinated. You can’t be mashing directions: each input must serve a purpose. Most players bind movement keys in a way that allows simultaneous diagonal inputs (like A+W or D+S combinations).
Weapon Readiness ensures your ADS (aim down sights) is already active or primed during the cross. Attempting to ADS mid-cross breaks your momentum and timing. Skilled players either stay scoped during the cross or maintain pre-aimed positions where they can snap onto targets immediately after repositioning.
Cover Awareness is where game sense enters the equation. The best crosses use terrain, walls, and map geometry to minimize exposure time. You’re not crossing through open areas, you’re using crosses to move between pieces of cover while maintaining shooting angles. Recent patches in Battlefield 2042 Season 4 (March 2026) adjusted cover destruction, making static positioning more punishable and dynamic crossing more rewarding.
How To Execute The Battlefield Cross
Step-By-Step Execution Guide
Executing a clean Battlefield Cross follows this progression:
- Establish your baseline position – Find cover with multiple sight lines. You need at least two angles of escape or engagement.
- Pre-aim your weapon – Before moving, orient your weapon toward the expected enemy position. Don’t be fully scoped if you’re about to relocate: instead, have your sensitivity and positioning set so a quick flick will land on target.
- Initiate the first strafe – Press your primary strafe direction (typically A or D) while maintaining your forward input. This moves you laterally by roughly 45 degrees.
- Execute the pivot – After 150-200ms of lateral movement, reverse your strafe input (if you pressed D, now press A) while simultaneously pressing forward or backward. This creates the diagonal “cross” pattern.
- Snap onto target – As you complete the cross, your weapon should already be tracking the enemy. If using ADS, your reticle should be at head level before the cross begins.
- Commit or disengage – Based on the result, either press the engagement (burst fire or sustained damage) or complete the repositioning to new cover.
The entire sequence should take 400-600 milliseconds from start to finish. Anything longer and you’re exposed for too long. Anything faster and you lose the accuracy benefits.
Timing and Positioning Tips
Timing determines whether the cross gets you out of danger or puts you directly in it. Fire exchanges in Battlefield typically last 1.5-3 seconds. You want to execute your cross during the enemy’s reload window, during their direction changes, or when you’ve identified they’re predictable with their angles.
Peak times for crossing:
- During enemy reload cycles (especially with slower weapons like sniper rifles or shotguns)
- After you’ve landed 2-3 shots and the enemy repositions defensively
- When approaching objectives where multiple angles exist
- When moving between control points with suppressing fire from teammates
Positioning for success means identifying map areas with multiple cover options within a 10-meter radius. Maps like Breakaway and Manifest Excel for crosses because their broken terrain and scattered cover provide natural crossing lanes. Open maps like Orbital punish crosses because there’s nowhere to reposition to.
Always cross toward better cover, better angles, or toward teammates. Never cross into open space. Never cross directly at an enemy if they’re actively tracking you, cross perpendicular to break their aim assist or crosshair prediction.
Common Mistakes To Avoid
Crossing too predictably – If you cross in the same pattern every engagement, experienced players will anticipate it. Vary your cross direction and distance. Sometimes cross short (just 5 meters), sometimes commit to longer repositioning.
Crossing without cover awareness – Always have an exit strategy. If your first cover is compromised, you need a second piece of cover to cross toward. Crossing into the open is just speedrunning your death.
Losing focus on accuracy – The cross isn’t a “panic move” that makes you invincible. If you’re crossing but can’t maintain shots, you’ve failed the mechanic. The entire point is repositioning while staying lethal. Missing shots during a cross means you’ve wasted positioning advantage.
Crossing with depleted ammo – Never cross if your magazine is nearly empty. You need enough rounds to capitalize on the repositioned angle. Reload first, then cross.
Crossing at the wrong TTK window – TTK (Time to Kill) varies by weapon. Assault rifles have forgiving TTKs (around 600ms), while SMGs need to be closer (400ms) and snipers are instant. Know your weapon’s TTK and only commit to crosses that give you enough time to capitalize before the enemy’s TTK kills you.
Advanced Battlefield Cross Strategies
Using The Cross In Competitive Play
In competitive Battlefield, the cross isn’t just a movement technique, it’s a fundamental part of team positioning and site control. Professional players use crosses to bait utility, force enemies into unfavorable angles, and create opening picks for their team.
Baiting enemy utility is where crosses become strategic weapons. If an opponent has a grenade or ability ready, executing a visible cross sometimes triggers them to waste it. A good cross looks threatening enough that panicked enemies throw resources at you. Once that utility is spent, your team engages with an advantage.
Competitive play also emphasizes coordinated crosses. Teams cross in pairs or coordinated waves, using teammate positioning to cover crosser flanks. When one player crosses forward, another holds back position to trade if the first engagement goes south. This is why competitive matches look so synchronized, teams are crossing in calculated sequences, not chaotically.
Objective crosses are specialized techniques used specifically around flags, zones, or bomb sites. These are calculated movements that minimize exposure while approaching objectives. Players learn exact pixel-perfect routes on maps like Battlefield 2042 game modes discussed here to cross safely toward objectives without getting sniped or caught in predictable angles.
Defensive Applications
Defense is where crosses become deceptive and lethal. Defending players set up initial positions around objectives, then use crosses reactively to punish attackers’ predictable approaches.
Angle shifting is the core defensive cross technique. Rather than staying in one position, defenders cross between nearby angles every 10-15 seconds. This prevents attackers from pre-aiming you. If attackers expect you at corner A, you’re already at corner B having crossed sideways. This forces them to either widen their approach or push recklessly.
Counter-crossing happens when defenders identify an attacking cross and cross in the opposite direction to flank the attackers’ repositioning. This high-IQ play catches aggressive teams off-guard and is a signature of veteran defensive players. The timing window is incredibly tight, you need to react within 200ms of seeing the enemy cross.
Defensive crosses also shine during objective holds. When a flag is being capped, defenders can cross around the objective zone, staying within the capture radius while being harder to hit. This is especially effective with defenders who have shields or damage reduction abilities.
Class-Specific Techniques
Assault Class Optimization
Assault-class soldiers have the mobility and damage output to weaponize crosses aggressively. Their strength is sustaining engagements while repositioning, thanks to assault rifle accuracy and magazine capacity.
Assault crosses prioritize covering ground while maintaining suppressive fire. Assault players don’t need as many resources to commit to extended crosses because their guns stay accurate at longer distances. The optimal approach is crossing while in sustained fire mode, using recoil management to stay on target during the movement.
Key Assault considerations:
- Use extended magazine attachments to have ammo for both the initial engagement and post-cross follow-up
- Equip grip attachments that reduce horizontal recoil to maintain accuracy during diagonal movements
- Choose optics with lower zoom (1-2x) so crossing doesn’t make you lose sight of targets
The Assault’s gadget choice matters too. Players using armor plates or regeneration perks can afford longer, more aggressive crosses because they’ll survive slightly more damage. This is why Assault-focused players dominate aggressive crossing gameplay.
Support And Medic Adaptations
Support and Medic classes require adapted crossing techniques because they’re typically more exposed during repositioning.
Support crosses are shorter and more tactical. Support players cross to deliver ammo, suppress enemies, and create angles for teammates rather than carry fights solo. Their crosses often involve moving to elevated positions or central map locations where they can resupply multiple teammates simultaneously.
Mediac crosses focus on survivability and positioning. Medics need to stay alive to heal teammates, so their crosses are more conservative. They cross to:
- Reach downed teammates safely
- Position near objective zones to heal capping allies
- Rotate between teammates in a coordinated pattern
Both classes benefit from:
- Reduced-profile movement – crouch-crossing when possible to minimize hitbox
- Premeditated routes – knowing exact crossing paths on maps to minimize decision time
- Team-aware positioning – crossing should always move you closer to teammates, never isolate you
Mediacs and Supports struggle with pure offensive crossing because their loadouts don’t support sustained firefights during repositioning. Instead, they cross to secure position before engagements begin.
Recon And Mobility Strategies
Recon and Mobility specialists use crosses entirely differently than gunplay-focused classes. For Recons, crossing is about maintaining sightlines while repositioning to avoid counter-sniping. For Mobility specialists, crossing leverages superior movement speed to cover distance faster.
Recon crosses are often performed from static positions. A Recon player identifies a snipe position, scopes a lane, and when another Recon begins counter-sniping, executes a short cross to a different angle, still covering the same general area but shifted enough to dodge the incoming fire.
Key Recon techniques:
- Double-peek crosses – scope an angle, break scope, cross to adjacent angle, scope the original angle from new position
- Vertical crosses – moving up/down elevation while maintaining horizontal sightlines
- Positioning crosses – moving between long-range positions rather than close-quarter repositioning
Mobility specialists with grappling hooks or enhanced movement can cover 20-30 meters in a single cross, something other classes can’t match. Their crosses are more about committing to aggressive repositioning rather than maintaining cover. A Mobility player might cross from one building to another entirely, relying on movement speed to avoid damage rather than cover selection.
Both Recon and Mobility crosses require map-specific knowledge. These classes have set routes on each map where crosses are most effective. Game Like Battlefield titles share similar crossing mechanics, so knowledge transfers between titles, but specific map routes require Battlefield-specific practice.
Best Maps For Practicing The Battlefield Cross
Not all Battlefield maps reward crossing equally. Some maps’ layout and cover distribution make crosses essential: others make them risky or unnecessary.
Breakaway is arguably the best crossing practice map. Its multi-level terrain, abundant destructible cover, and tight engagement distances create dozens of crossing opportunities per match. The map rewards players who reposition frequently because static gameplay gets punished by flanks. Practicing crosses on Breakaway teaches you how to use vertical movement and broken terrain, skills that transfer to other maps.
Manifest excels for close-quarters crossing practice. Its tight corridors and overlapping sight lines mean crosses happen constantly. You’ll face constant crossing opponents, forcing you to recognize and counter-cross. The map’s relatively small size means crossing mistakes result in quick deaths, excellent feedback for refining timing.
Kaleidoscope teaches medium-range crossing. Its open mid-section with scattered cover creates crossing lanes where you must execute crosses over 10-15 meter distances. The map punishes bad crosses with sniper exposure but rewards good ones with access to strong positions.
Orbital is deceptively valuable for crossing even though being open. Large sections offer no cover, which forces players to use crosses to move between safe zones efficiently. Practicing on Orbital teaches you to recognize when NOT to cross and how to use crosses to minimize exposure time between major cover pieces.
Avoid these maps initially:
- Discarded – Too linear and predictable: crossing patterns become obvious
- Hourglass – Vehicle-heavy: crosses are less relevant than vehicle positioning
- Spillway – Too vertical and sniper-dominant: crossing becomes secondary to angles
Practice progression should go: Breakaway → Manifest → Kaleidoscope → Orbital. This escalates crossing difficulty while teaching different crossing scenarios.
Equipment And Settings Recommendations
Controller Settings For Precision
Executing tight Battlefield Crosses requires control settings optimized for rapid directional changes without sacrificing accuracy.
Sensitivity settings are foundational. Most competitive crossing players use 6-8 horizontal sensitivity (on a scale of 1-10) with slightly lower vertical sensitivity (5-7). This allows fast enough direction changes for crosses while maintaining flick accuracy for engagements.
The optimal sensitivity depends on your input device:
- Controller players: 7 horizontal, 6 vertical (allows precise crosses while maintaining aim assist effectiveness)
- Mouse and keyboard players: 800 DPI with 4-6 in-game sensitivity (provides accuracy for crossing bursts)
- Pro players typically use sensitivity lower than you’d expect because monitor distance and desk space allow them to perform wider physical movements
Deadzone settings matter significantly for crosses. Set your controller deadzone to 5-8% (not the extreme minimum, as that introduces random jitter, but low enough that diagonal inputs register crisply). Higher deadzone makes diagonal inputs feel sluggish.
Button mapping should prioritize binding movement keys to positions you can access instantly without movement awkwardness. Recommended layouts:
- Controller: Default movement (left stick) with bumper buttons for tactical actions: this keeps your thumb available for simultaneous directional inputs
- Keyboard: WASD with thumb on spacebar: some players rebind jump to a side button to keep finger movement minimal
Aim assist settings (for controller) should use standard aim assist rather than focusing aim assist. Focusing aim assist creates tracking during crosses but makes crossing harder because it pulls your aim. Standard assists just slows look sensitivity near enemies.
Weapon Loadouts That Synergize
Not all weapons perform equally well during crosses. The best crossing weapons balance accuracy during movement, magazine capacity, and TTK.
Optimal primary weapons for crossing:
-
M5A1 Assault Rifle – Laser-accurate at mid-range with excellent magazine capacity (30 rounds). Superior for sustained fire during crosses. Recommended attachments: Compensator (recoil reduction), Extended Magazine, 1-2x scope
-
AK-74 – More recoil but higher damage per shot. Better for short crosses where you need quick kills. Attachments: Vertical Foregrip, Extended Magazine, iron sights or low-zoom optic
-
PKP-BP (Light Machine Gun) – Underrated for crosses. The massive 100+ round magazine means you never run out of ammo mid-cross. Slower handling makes it work better on Support-class crosses. Attachments: Extended Magazine, Bipod (deploy at cover before crossing)
-
MP443 Submachine Gun – Fastest TTK for close-range crosses. Requires you to cross into point-blank distance but devastating when executed. Attachments: Muzzle Brake, Extended Magazine, laser sight for hipfire during chaotic crosses
Avoid sniper rifles and slow-handling shotguns for learning crosses. These weapons require you to be stationary or fully committed to engagements, which contradicts the crossing philosophy.
Secondary weapon recommendation: Assume you won’t switch to secondary during a cross. Choose a secondary that gives you backup if you’re caught reloading. The M9 pistol (fastest draw speed) is ideal because it gets you back into the fight fastest if your primary runs dry.
Gadget synergy matters too. Gadgets that trigger during movement (like throwable stun grenades) can be deployed mid-cross to catch enemies off-guard. Stationary gadgets (like claymores) don’t synergize with crossing, they work better with static positioning.
Final equipment note: Battlefield 3 Xbox 360 guides show classic crossing weapons that remain viable in modern Battlefield, proving that core weapons standout for crossing across game iterations.
Mastering The Battlefield Cross: Final Thoughts
The Battlefield Cross isn’t a exploit or a secret technique, it’s evolved into a fundamental pillar of modern Battlefield gameplay. From competitive esports matches to ranked ladder grinding, players who master crossing consistently outperform those who rely on static positioning and predictable rotations.
The learning curve is genuine. Expect 20-30 hours of focused practice before crosses feel natural. Your first 10 hours will feel awkward, your next 10 hours will show dramatic improvement, and hours 20-30 will introduce subtlety, learning when to cross, how far to cross, and when to hold position instead. This mirrors the skill progression discussed in gaming guides across platforms, where mechanical skills unlock strategic understanding.
Your roadmap forward:
Week 1-2: Master the basic cross movement on Breakaway in Team Deathmatch. Focus purely on execution, not winning. Get comfortable with the directional input timing until it’s muscle memory.
Week 3-4: Introduce enemy pressure. Move to Conquest and practice crosses under fire. You’ll whiff engagements, that’s expected. You’re building situational awareness of when crosses work and when they get punished.
Week 5-6: Study professional players. Watch esports streams and analyze why pros cross when they do. Notice the patterns, the cover they cross between, the timing relative to enemy positions, the distances they commit to. Recent esports coverage emphasizes these mechanics as defining factors in competitive play.
Week 7+: Specialize based on your preferred class. If you main Assault, commit to aggressive crosses. If you main Support, develop the shorter, tactical crosses. Specialization is where crosses transition from mechanical skill to game sense.
The meta around crossing continues to evolve. Balance patches adjust movement speed, cover destruction, and weapon accuracy during strafing. March 2026’s updates to Battlefield 2042 Xbox Series X mechanics slightly increased the window for precision crossing, making the technique more rewarding for accurate players.
Mastering the Battlefield Cross separates competent players from dominant ones. You’ll notice the difference immediately: engagements you were losing become winnable, rotations that felt exposed become calculated, and your positioning will become proactive rather than reactive. That’s what the cross gives you, not just better movement, but better control over every firefight. Now get out there and practice.


