
Table of Contents
ToggleBattlefield Orchards stands as one of the most tactically demanding maps in the 2026 Battlefield roster. Its sprawling agricultural layout rewards players who understand positioning, vehicle management, and squad coordination, but punish those who rush blindly into engagement. Whether you’re climbing the ranks in Conquest or holding objectives in Rush, mastering Battlefield Orchards separates veterans from ground-level grunts. This guide breaks down everything from optimal rotations and loadout choices to competitive tactics that’ll turn your team’s performance around.
Key Takeaways
- Battlefield Orchards demands coordinated squad play and team positioning over individual heroics, with 15-20 meter staggering between assault and support roles preventing isolated kills.
- Vehicle control is essential for dominating open-field zones like the Grain Fields and Pasture Lands, requiring dedicated support escorts to suppress threats and maximize effectiveness.
- Master elevation advantages by controlling key positions like the Irrigation Platform, Barn Complex, and Radio Tower, as vertical gameplay determines engagement outcomes across the map.
- Adapt your loadouts and tactics based on game mode: Conquest favors mid-range AR setups, while Rush emphasizes close-quarters builds paired with disciplined objective defense.
- Use perimeter flanking routes through the Eastern Forest Perimeter and Western Ridge to bypass enemy frontlines and split opponent focus while your team engages from the front.
- Prioritize objective control and rotation timing over chasing kills, with rotations initiated 20-30 seconds before enemies capitalize on abandoned positions to maintain map momentum.
What Is Battlefield Orchards?
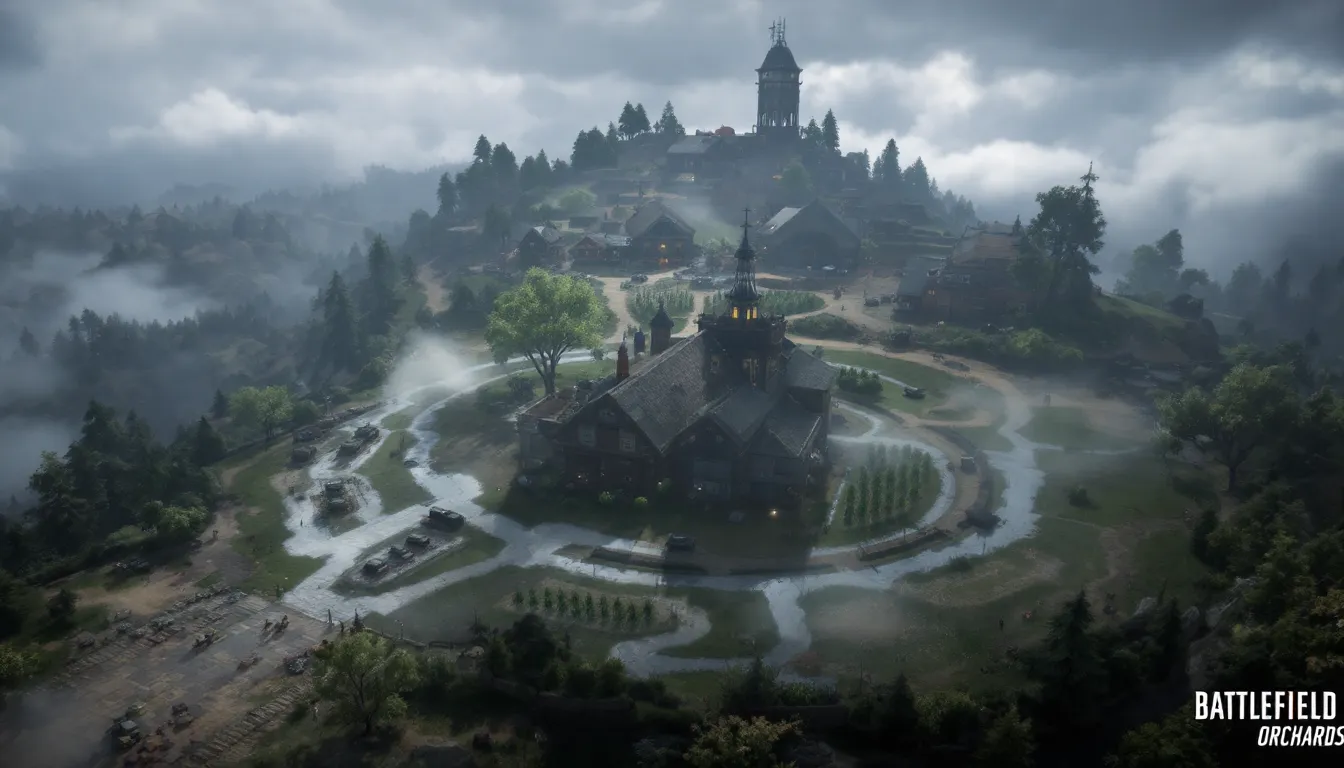
Battlefield Orchards is a large-scale multiplayer map introduced in the latest Battlefield season, designed for 64-128 player servers depending on platform and game mode. It’s set in a sprawling agricultural estate dominated by a central fruit orchard with terraced crop fields, farmstead buildings, and dense vegetation creating natural choke points and sightlines.
The map’s defining characteristic is its layered terrain and vertical gameplay opportunities. Unlike traditional urban maps, Orchards forces players to think in three dimensions: fighting across open fields, through dense orchard rows, and between elevated farm structures. Vehicle combat plays a significant role here, helicopters and jets have excellent positioning opportunities, while tanks and light vehicles dominate the open areas.
Understanding Battlefield Orchards’ core identity is crucial. It’s not a map where lone wolf plays thrive: instead, team composition, communication, and understanding choke points determine victory. The map favors coordinated squads that can manage resources and adapt to shifting frontlines.
Map Layout and Key Locations
Central Orchard Areas
The heart of Battlefield Orchards contains the most intense fighting zones. The Main Orchard is a dense cluster of fruit trees creating natural cover and line-of-sight breaks every 10-15 meters. This area typically becomes a grinding, close-quarters battle zone where ARs and SMGs excel. Visibility is limited, so headglitches and peek-and-clear tactics dominate engagements here.
The Farmstead Courtyard sits adjacent to the central orchard with warehouse buildings, wooden structures, and equipment caches. It’s a mid-range engagement zone with mixed cover, vehicles can struggle here due to tight angles, but infantry using building cover can hold strong positions. Most objective-based game modes center around controlling this area.
Perimeter Zones and Cover Points
Battlefield Orchards’ outer edges include the Northern Grain Fields and Southern Pasture Lands, flat, open terrain where vehicle play dominates. The Grain Fields contain sparse wooden structures and hay bales providing minimal cover: long-sight engagements here favor DMRs and sniper rifles. Vehicles caught in open terrain are vulnerable, so positioning behind terrain depressions and structures matters immensely.
The Eastern Forest Perimeter and Western Ridge provide elevation and dense cover. These flanking routes connect outer positions to central objectives, making them critical for advanced team strategies. Squads pushing through these areas can bypass direct engagements and hit enemy positions from unexpected angles.
The Storage and Supply Depot on the map’s southwestern corner offers warehouse structures with multiple entry points. It’s a classic head-on battle location with defined choke points, teams defending here can lock down supply routes: attackers need coordinated breaches.
Strategic High-Ground Positions
Elevation dominates Battlefield Orchards gameplay. The Irrigation Platform, a raised structure overlooking the central farmstead, provides unmatched sightlines across the main engagement zone. Teams controlling this position can suppress entire quadrants. But, it’s exposed from multiple angles, requiring dedicated defensive positioning.
The Barn Complex on the map’s interior offers both defensive and offensive advantages. Its stacked rooflines create height advantages, and interior passages allow vertical rotation. Holding the barn means controlling access to the northern approaches.
The Radio Tower Hilltop at the map’s northern boundary provides a commanding vantage point but sits isolated. Capturing and defending it yields strategic benefits, though it’s difficult to reinforce quickly if enemies push the isolated position.
Essential Tips for Winning on Battlefield Orchards
Team Positioning and Rotation Strategies
Winning on Battlefield Orchards demands that your squad understands layered positioning. Front-line assault players shouldn’t push too far ahead, the map punishes isolated plays with devastating crossfire. Instead, maintain a 15-20 meter stagger between assault and support elements. This creates opportunities for teammates to suppress enemies pinning down the lead squad.
Rotation timing is everything. The map’s large size means slow rotations lose map control. Identify which objectives your team is abandoning and begin rotating 20-30 seconds before the enemy capitalizes. Use vehicular rotations when possible: walking across the Grain Fields exposes your squad to cross-fire from multiple angles.
Positioning behind terrain features beats positioning inside buildings. A 2-player team dug in behind a wooden fence or agricultural berm controls much more space than the same players stacked inside a warehouse. You’ll have escape routes, better sightlines, and harder-to-predict positions.
Vehicle Usage and Control
Vehicles aren’t optional support on Battlefield Orchards, they’re core to map control. Teams without vehicle coordination lose the open-field battles that dictate momentum. But, vehicles require dedicated protection. A solo tank is a disabled tank. Assign medic and support players to travel with armored units, providing ammo and suppression while the vehicle handles ranged threats.
Air vehicles matter significantly. Helicopters sweeping the open perimeter zones create devastating suppression opportunities, but they’re vulnerable to coordinated small-arms fire and explosives. Squadmates should preemptively suppress chopper positions if enemy air support is active.
Light vehicles (buggies, dirt bikes) excel in flanking rotations. Use them to bypass choke points and hit objectives from unexpected angles. Don’t engage in direct vehicle-to-vehicle combat unless you have overwhelming numbers, position light vehicles for rapid insertion and dismount, then use cover.
Resource Management and Objective Focus
Battlefield Orchards’ scale means resources are spread thin. Every squad can’t have top-tier loadouts: prioritize resupply for assault players holding frontlines and recons providing intelligence. Support players should maintain high-yield ammo supply throughout key engagements.
Objective focus wins games. Killing enemies matters only if you’re controlling territory. In Conquest, hold two flags and deny the enemy’s third flag. In Rush, your entire squad focuses on defending the M-COM stations, anything else is secondary. Deaths matter less than objective presence: occasionally backing off to live and reposition beats charging for that kill.
Class and Loadout Recommendations
Assault and Medic Builds
For Assault, the M16A4 (or your preferred mid-range AR) paired with a Tactical Scope dominates Orchards’ mixed-range engagement profile. Equip a Frag Grenade for clearing close-quarters areas and C4 to deny vehicle pushes. Use Body Armor as your gadget, survivability matters more than mobility on this map. The extended health pool helps you win the peekaboo engagements common in the Farmstead.
Alternatively, SMG-focused Assault builds excel in the dense Orchard terrain. An MP7 with Extended Mags and Grip becomes devastating in tight cover situations. Pair it with a Pistol (Combat Knife if you’re aggressive) and rely on Smoke Grenades for repositioning rather than fragging.
Medic loadouts should prioritize range and sustained fire. Choose an Assault Rifle over a carbine, something like the AR-15 or AK-12 with 2x Magnifier for flexible mid-range engagements. Carry Medical Pouches as your primary gadget and Defibrillator as secondary. Stay just behind aggressive assault teammates, dropping healing stations at objective positions.
Medic positioning matters more than kills. Position yourself where you can revive downed teammates without becoming an easy target. In the dense Orchard areas, stay 10-15 meters behind the assault line: in open fields, push alongside vehicles for cross-fire protection.
Support and Recon Setups
Support players should run LMGs on Battlefield Orchards, the extended magazine capacity and suppression capability make them invaluable for holding open-field positions. A PKM or M249 with Extended Mags and Bipod gives you the ability to suppress multiple angle simultaneously. Keep Ammo Crates deployed at objective positions and squad spawns: resupply is continuous.
Consider equipping C4 as your secondary gadget if enemy vehicle presence is high. The combination of suppression and explosive area denial makes Support disproportionately impactful against vehicle-heavy opponents.
Recon excels using bolt-action rifles from elevated positions. The Kar98 with a Thermal Scope provides intelligence from the Irrigation Platform, Radio Tower, or Barn Complex. Mark targets using your gadgets, mines for area denial around objectives, motion sensors for flanking route coverage.
Recon players should avoid aggressive plays. Your value comes from sustained suppression fire and information gathering. Aggressive Recon pushes usually end in quick deaths that leave your team without intelligence. Position yourself for safe retreats and multiple engagement windows from the same location.
Common Mistakes to Avoid
New players on Battlefield Orchards frequently over-commit to dying terrain. The open Grain Fields and Pasture Lands look traversable until you’re halfway across, suddenly your squad is pinned with zero cover. Stop pushing open terrain alone. Wait for teammates, use vehicles, or find flanking routes through perimeter cover.
Another critical mistake: ignoring map vertically. Newer players treat the elevated structures (Irrigation Platform, Barn Complex, Radio Tower) as optional positions. They’re not. Teams that control height dominate engagements. If enemies hold elevated ground, your first priority becomes dislodging them or cutting off reinforcements, not pushing forward into their crossfire.
Vehicle abandonment kills map control. Solo tanking through the Grain Fields without support guarantees a quick destruction. Always pair vehicles with escort players who suppress threats and repair damage. A supported heavy vehicle becomes exponentially more effective than an unsupported one.
Final mistake: chasing kills instead of controlling objectives. Battlefield Orchards rewards disciplined, position-based gameplay. Chasing a fleeing enemy into enemy territory gets you killed and abandons your objective. Let them run: focus on holding what matters.
Many players also fail to adapt to dynamic meta changes. If your team’s vehicle strategy isn’t working, switch to infantry rushes through perimeter cover. If the enemy dominates the central orchard, pull your team back and control perimeter zones. Flexibility wins on this map’s massive, multi-layered terrain.
Advanced Tactics for Competitive Play
Map Control and Flanking Routes
Competitive Battlefield Orchards play revolves around two core concepts: denying enemy momentum and controlling escalation paths. Map control doesn’t mean killing everyone, it means positioning your squad where you can see and suppress the most territory while maintaining exit routes.
The Eastern Forest Perimeter creates a natural flanking avenue that mid-tier teams ignore. Sending 2-3 coordinated players through this route while your team engages frontline enemies splits the opponent’s focus. By the time they realize they’re being flanked, you’ve already repositioned to strike isolated enemy players. Competitive teams use this rotation on maps featured in esports tournaments, where understanding these angles separates victory from second place.
The Western Ridge offers similar flanking potential with better cover. Teams pushing through this route can hit enemy positions defending the central orchard from angles where enemies rarely expect threats. The key: time your flanking push to coincide with frontline pressure, not independently.
Coordinate With Your Squad
Competitive plays on Battlefield Orchards demand constant communication. Call out enemy positions, vehicle spawns, and rotation timings. Use ping systems to mark positions you can’t verbally call, competitive players can identify a marked position in 1-2 seconds and adjust.
Squad spawning becomes tactically critical. Position squad leaders in locations where you can continuously spawn teammates without exposing them to immediately fire. A squadmate spawning on you should have 3-5 seconds of safety to orient themselves before engagement. Poor spawn positioning gets your team killed continuously.
Coordinate ability usage. If your Medic is pushing an objective, have your Assault player use grenades to clear building corners. If your Recon marks enemies, your Support player suppresses while Assault pushes. Sequential, coordinated actions multiply effectiveness, random independent plays get exploited and punished.
Competitive squads also manage cooldown synchronization. Don’t blow all your utility simultaneously. Stagger grenade throws, healing ability usage, and positioning to maintain constant pressure rather than burst-then-pause patterns.
Game Modes and How They Play on Orchards
Conquest on Battlefield Orchards plays as a classic three-flag affair with tactical depth. Flag locations, positioned around the Farmstead Courtyard and perimeter zones, create natural team splits. Winning teams control two flags and prevent enemy third-flag captures. The extended map size means teams can’t hold all positions simultaneously, so rotation and timing matter more than raw firepower. Vehicle dominance on the open fields becomes critical: teams without vehicle presence typically lose the momentum war.
Rush transforms Orchards into an attacker-defender map with M-COM station placement in the Farmstead and peripheral zones. Defenders use the terrain heavily, setting up defensive positions in the dense Orchard areas and fortified structures. Attackers must coordinate pushes to breach defender positions while managing limited spawn tickets. This mode heavily rewards team discipline and coordinated assault waves rather than individual heroics. Squad spawning becomes essential, teams that maintain forward squad leader positions usually win the attacker advantage.
Team Deathmatch (smaller-scale variant) condenses Orchards to the central areas, removing the open perimeter zones. This mode plays tighter, favoring SMG/carbine loadouts over the mixed-range setups successful in larger modes. Cover becomes more densely packed, and engagements happen at closer range. Vehicle presence is minimal due to condensed playspace.
Breakthrough (if available on your platform) emphasizes attacker momentum. The extended map size again plays to vehicle-focused strategies, but compressed objective zones force infantry engagement. Success requires balancing vehicle pressure with infantry objective presence, vehicles alone won’t capture heavily defended stations.
Different game modes demand loadout flexibility. Conquest benefits from mid-range AR builds. Rush favors CQB-focused loadouts. Adapt your squad composition and equipment based on mode selection, and you’ll maintain effectiveness across all Orchards variants.
Conclusion
Dominating Battlefield Orchards requires understanding its unique geography, respecting verticality, and executing team-focused strategies rather than chasing individual kills. The map’s sprawling layout separates coordinated squads from disorganized players faster than any other factor.
Start by mastering one loadout per class and learning two-three core positioning areas, the Central Farmstead, Barn Complex, and Irrigation Platform. Once you’re comfortable with basic map knowledge, begin experimenting with flanking rotations and vehicle coordination.
Remember: Battlefield Orchards punishes hesitation and rewards decisive, team-oriented plays. Your squad’s rotation timing matters more than your individual aim. Vehicle control determines open-field dominance. Objective focus wins games.
Push into your next Orchards match with these fundamentals locked in, and you’ll quickly climb the skill ladder. The map rewards learning: start learning today.


